
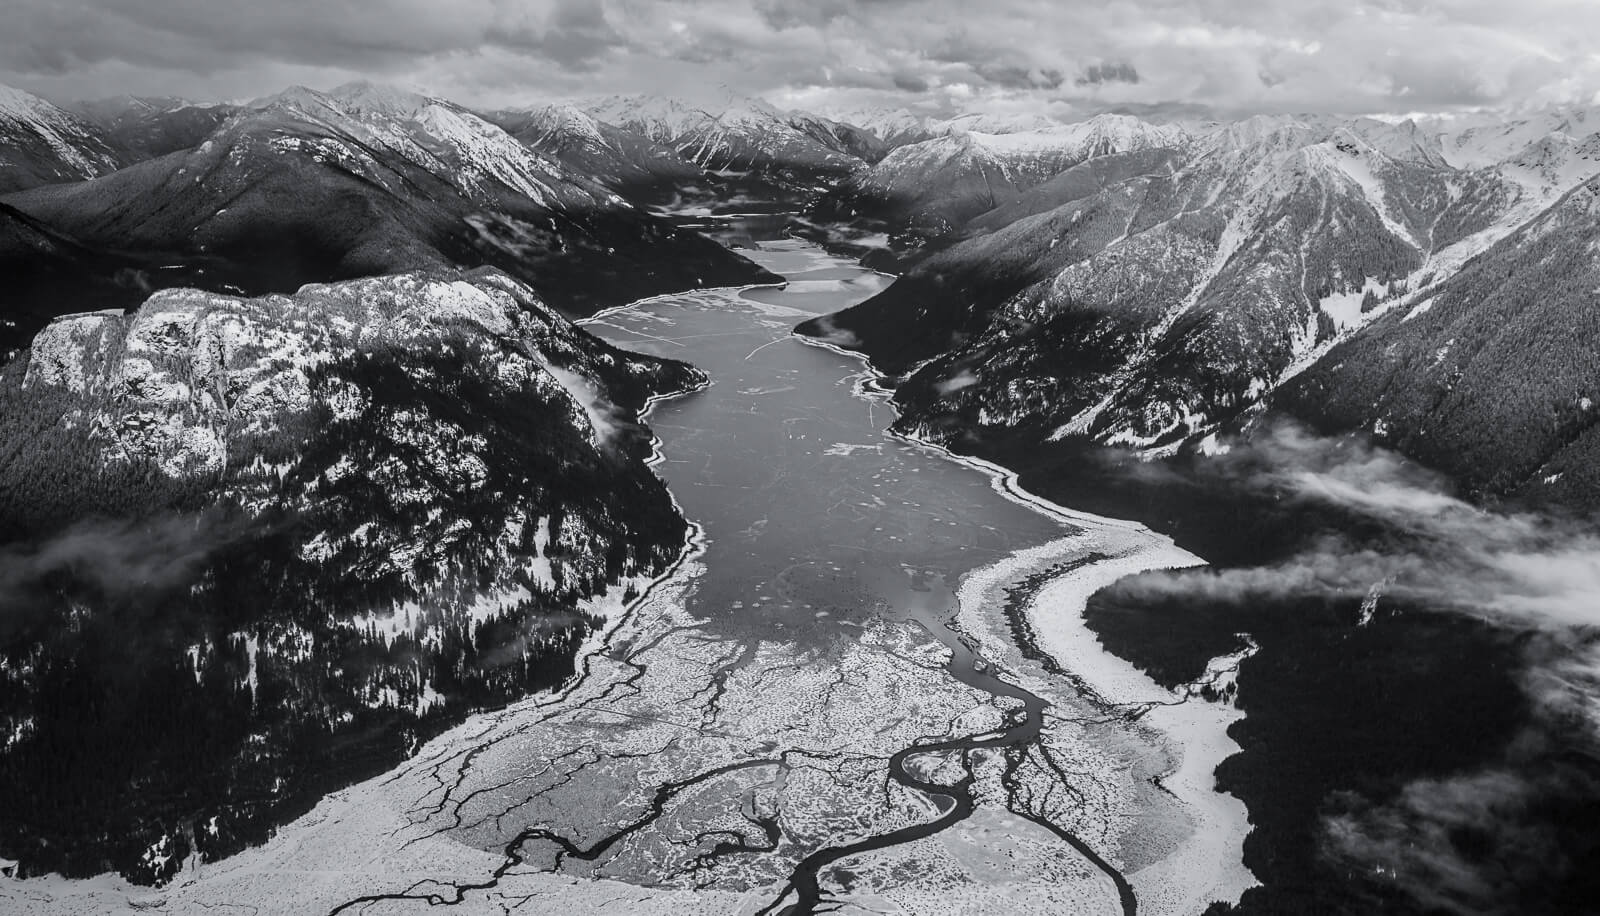
During a typical season, I usually travel a little bit, but for the most part, I tour here in my home range– The Cascades.
The Cascades offer a more stable snowpack than other areas, as well as a longer lasting seasonal snowpack. Plus, when the seasonal snowpack melts, there’s always glaicer riding.
I often sit at my house in Seattle or in Greenwater, Washington (that’s right near Crystal Mountain) and think about where might be a good place to get out and go touring, and the first place I always look is to the weather forecasts.
Whether it’s spring touring with perfect corn or powder hunting midwinter, there is a lot of planning that goes into a good backcountry trip. While I maintain a list of places I’d like to go and lines that are asking for a slayin’, I ALWAYS plan my trip around the weather. I can’t emphasize this enough.
If you were to ignore this very important step, and venture unawares into an area where the avi conditions are terrible or it looks like it’s gonna rain, you’re almost guaranteed to have a trip that’s somewhere between dangerous and unenjoyable, so appropriate planning is absolutely crucial.
For weather-based trip area planning, this is a breakdown of my process for here in the Cascades.
Step 1: Check out a generalized, or large-scale weather forecast for freezing levels and large-scale precipitation patterns.
In the Seattle area, we’re close to a lot of different areas where backcountry snowboarding is available. Usually the forecast for the Olympic peninsula, for example, is very different from that of the North Cascades. I like the Washington State Department of Transportation site because they are pretty good about listing both the snow levels and chance of sun. Each state has their own informational site, which may or may not be as good as this one.
For WSDOT, I like the Mountain Passes forecast. It’s a good place to check for freezing levels. If you are willing to travel, freezing level information is invaluable.
At this point, you’re probably asking yourself what the freezing level and precip likelihood is going to do for you. Which brings me to the next point:
Why Check the General Forecast?
- Sun vs. Rain: You don’t want to be ill-equipped for a tour. Whether it’s sunshine or a rain storm, this will give you an idea of how to plan your equipment and plan for the day. If its’ going to be a wet day you may want to bring extra layers and gloves in case your gear gets soaked. If it’s going to be sunshine, you may want to bring sunglasses and sunscreen. While this gives you a good idea about what to expect, never depend on it being 100% correct and always prepare for the worst possible situation.
- Freezing Levels: No one likes to hike a few miles in the rain only to be soaked by the time they hit snow. Here in the Cascades, it is safe to say the freezing level fluctuates between sea level and 7000 feet during fall spring and winter months. Take your objective’s altitude into consideration when deciding where to tour. At Snoqualmie Pass, the peaks summit around 5,500 feet. At Crystal Mountain, they summit at 7000 feet. On a hypothetical day with a 5,000′ freezing level, personally, I would like to go to Crystal and not have to deal with the rain. Hence, freezing levels are key.
Okay, now you know where it’s snowing, raining, sunny, and breezy. This brings us to…
Step 2: Zero in on more specific weather and avalanche forecasts for your chosen destination.
Now that you have a general idea of the forecast, it is time to break it down to a specific area. While general forecasts are great, they don’t tend to be overly scientific. A great resource for accurate point-forecasting is NOAA (The National Oceanic and Atmospheric Administration) which allows you to get pin-point forecasts. For example, here is the link to a forecast on the south side of Mt. Rainier.
What does the pinpoint forecast tell you that the general one won’t?
Say, for example, that you’ve decided to tour somewhere on the West side of the central cascades near Mt. Rainier National Park. Reading the specific forecast could be really helpful in this circumstance.
There is a lot that goes into pinpoint forecasts. Whether it’s wind direction or rain shadows, pin-point forecasts take all of these factors into consideration. Sometimes the general forecast says that there will be a few inches of snowfall in the Central Cascades, but a pinpoint forecast calls for 9 inches on the south side of Rainier. This makes total sense, because Rainier rises over 7000 feet above all its surrounding peaks causing the clouds to release more moisture before completely passing over the region. This is the type of information that the WSDOT website won’t convey.
If you want 9 new inches of powder, clicking on that NOAA forecast would probably have done you some good in this example.
Another scenario I come across often and get asked about frequently is the following one:
Say its going to be partly cloudy and I want a chance of sunshine.
I have a saying for the Cascades that goes, “When in doubt head east.” What this means is by the time clouds reach the eastern side of the Cascade Crest, there is little to no moisture left and the weather conditions will not be nearly as harsh as the west side.
If you don’t have the option to get on the east side though, take into consideration the topography of an area where you plan on climbing. If the winds are heading from the west, try heading to an area which is sheltered from the western winds. A lot of times you will find that clouds prefer to go around peaks, so you may want to climb an east facing slope. Beware of wind loading, which I break down lower in the page. You will find that rain shadows make a huge difference in the severity of a weather pattern.
3. Next is the biggest most important link in this entire blog. The Avalanche Forecast which is broken down to a color scale of 5 separate categories (Low, Moderate, Considerable, High and Extreme. This forecast is a standard used all around the world so whether you are in New Zealand or Seattle you can expect the same format for avalanche forecasts. Here is a link
How do they get the Forecast?
- The people who put out the forecast are trained professionals whose years of experience are available with just a simple click. Thanks to the info they get from digging snow profiles they can give you daily updates on what the snow is doing, whether its stable or sliding, safe or unsafe.
Can I still tour if it’s a high avalanche danger?
- There are still pleanty of options but I wouldn’t recommend climbing up an exposed couloir. That will have to wait for another day. Mellow slopes below 30 degrees rarely ever slide (not to say they don’t) but it would be much safer to stay in semi dense forests.
4. Next I refer to the telemetry of a certain area, whether its Camp Muir on Mt Rainier or the summit of Crystal Mountain. A telemetry station is a piece of equipment left in a certain area to give readings about specific weather related information. You can get info like wind directions, temperature readings, and precipation amounts without leaving your computer. These are usually updated within a hour or so and go back 5 to 10 days. Here is a link to multiple telemetry stations and a quick breakdown.
9-18-2010
    Northwest Weather and Avalanche Center
    Paradise, Mt Rainier National Park, Washington

    Solar pyranometer added 6-14-10

     MM/DD  Hour  Temp    RH  Wind  Wind  Wind  Hour Total 24 Hr Total Solar
             PST     F     %   Avg   Max   Dir Prec. Prec.  Snow  Snow  W/m2
                 5550' 5550' 5500' 5500' 5500' 5550' 5550' 5550' 5550' 5500'
    ------------------------------------------------------------------------
      9 18  1400    53    75     4     9   268     0   .59     0     0   213
      9 18  1300    55    75     4     9   288     0   .59     0     0   479
      9 18  1200    56    75     5    11   235     0   .59     0     0   726
      9 18  1100    53    70     3     7   236     0   .59     0     0   573
      9 18  1000    54    65     2     6   293     0   .59     0     0   542
      9 18   900    52    90     2     5   151     0   .59     0     0   237
      9 18   800    52    88     3     6   125     0   .59     0     0   260
      9 18   700    48    97     2     5   105     0   .59     0     0    85
      9 18   600    47    97     2     5   173     0   .59     0     0     2
      9 18   500    48    98     1     4   336     0   .59     0     0     0
- The hour is based off military time which is a 24 hour clock. For example 1400 is 2 P.M. and so forth.
- Temp is the temperature at that certain elevation. For example the forecast above states the elevation at 5500 feet and it was 53 degrees at 2:00 p.m.
- Wind Average and max break down the MPH of the winds for example at 2:00 p.m. the average wind is 4 m.p.h. and gusts up to 9
- The precipitation totals are key to understanding a area. The total Precip at 2:00 is .59 or 3/5 a inch of rain.
But what does the precipitation totals mean for snow?
- A very general breakdown is that every inch of rain is equal to a foot of snow. If cold enough, you would expect around 7 inches of fresh snow according to the above example.
5. The final thing that I do before deciding a tour location, is study the areas' recent snowfall and temperatures using all four of the links I provided above.
Take into account Precipitation Totals
- This is an important thing to do, but takes a lot of time to master. Say you could only make it out on the weekend but you are wondering how much snow had fallen throughout the week? With the telemetry forecast I mentioned above, you could easily gather the information. Say two inches fell on Tuesday and 5 inches fell on friday and the freezing level is below freezing point. It is safe to say there is going to be 7 inches of new snow.
Now take into account temperature
- This is a delicate balance in the Cascades where one day an area is 20 degrees then the next day its going to be 40 degrees. What can I expect? The snow is going to get heavy as the sun comes out and the temperature rises. When in a situation like this, I try to head to north facing slopes where being covered in shade causes them to be 10 degrees colder, holding better quality snow.
- Lets say after the 40 degree day the temperature goes back to 20 degrees. What can I expect? All of the slopes that had baked in the sun the day before have probably developed an ice layer. When the sun hit the fresh snow it started melting but with freezing levels dropping once again, it refreezes on the surface. It can be anywhere from one cm to a few inches thick, causing what was decent skiing the day before to be unenjoyable.
With a general understanding of forecasts, you have the opportunity to get an idea of what is in store for you in the mountains without leaving the comfort of your home. Like I mentioned before, at first it seems confusing but after some time you will, as we like to call it “Know before you go!”